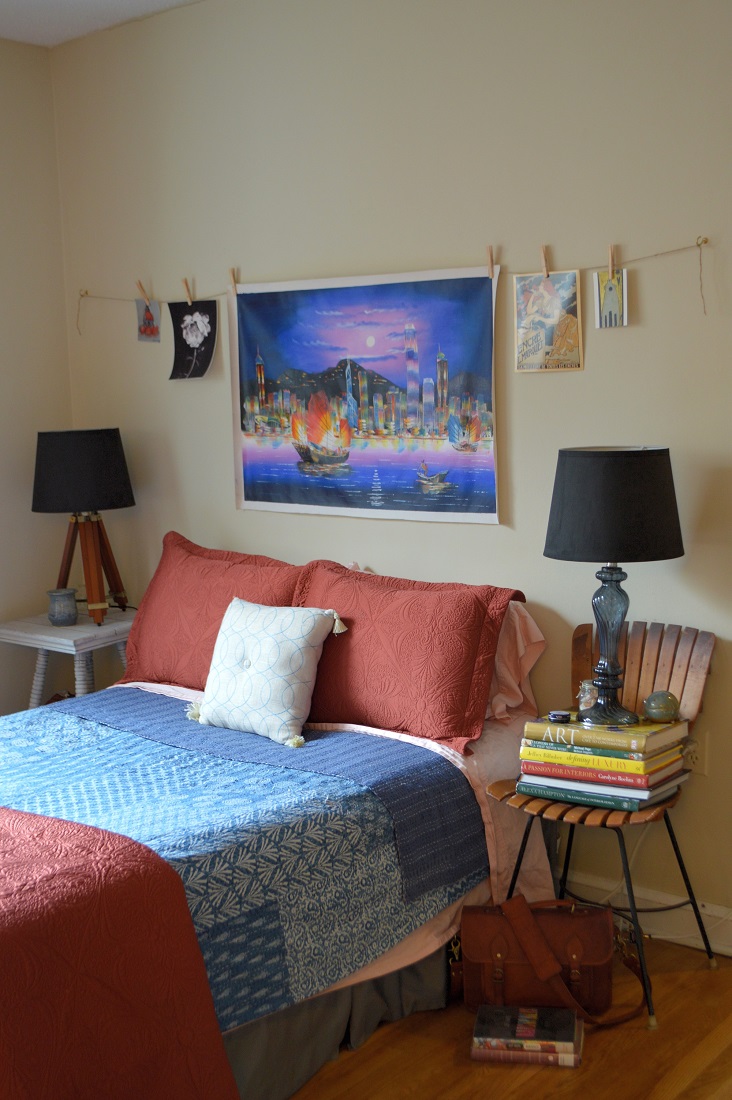
Got a bunch of beloved pictures and prints hidden away in storage? Give them center stage with this easy DIY solution for hanging frameless pictures, prints and posters. In this tutorial, you’ll learn how to create a gallery wall of hanging photos and prints using twine, clothespins and hook screws (no nails needed!). The result is a photo display with a bohemian feel that does minimal damage to your wall — making it perfect for rental spaces.
What you need:
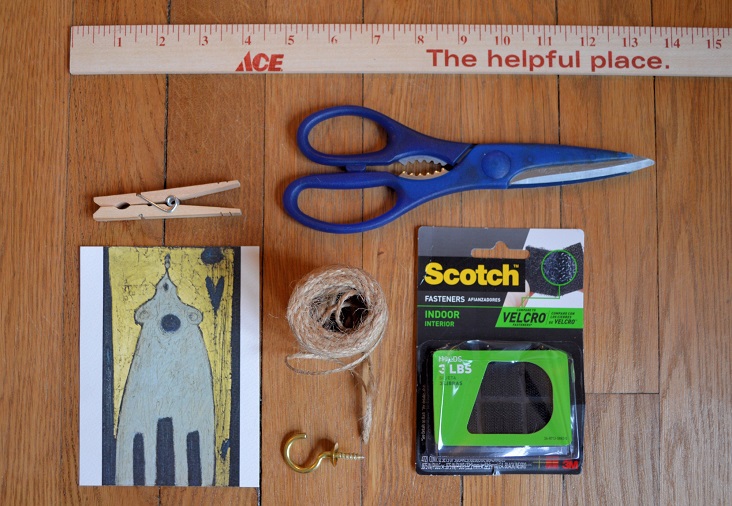
-Twine
-2 hook screws
-Clothespins
-Scissors
-A yardstick or measuring tape
-Velcro fasteners (optional)
First, choose where you want to place your hook screws and how high up from the ground you want them to be. Using the measuring tape or yardstick, measure up from the floor how high you’d like one end of your twine picture hanger to sit and make a mark with a pencil. Then measure the same distance up from where you want the other end of the twine hanger to sit.
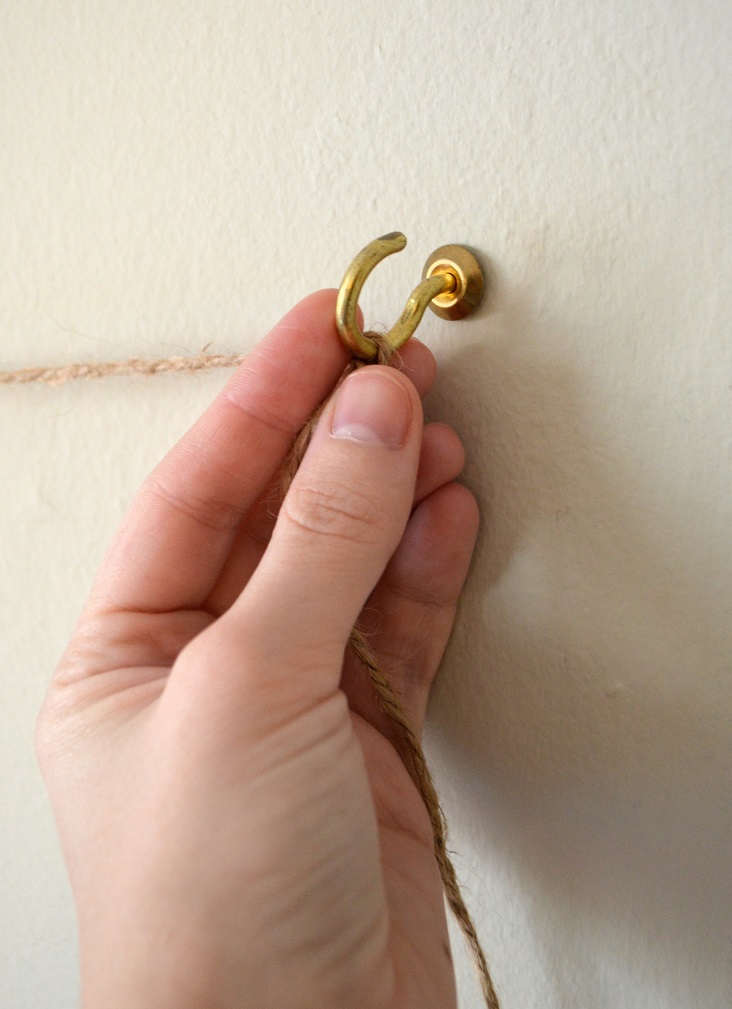
Next, go ahead and screw in each hook screw at the marks you made with your pencil. Tie the twine around the screw on the far end, then loop the twine through the screw at the other end and knot it, trimming off any excess twine (or for a more bohemian look, you can let a length of twine dangle down). Make sure you pull the twine extra taut; when you hang your prints from the twine with the clothespins, the twine will sag a little bit.
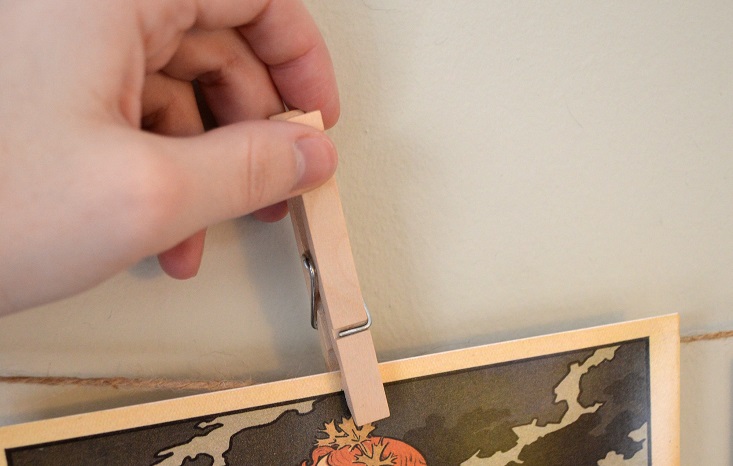
Next, go ahead and clip your prints and photos to the twine using clothespins, making sure to space the prints out evenly along the length of twine.
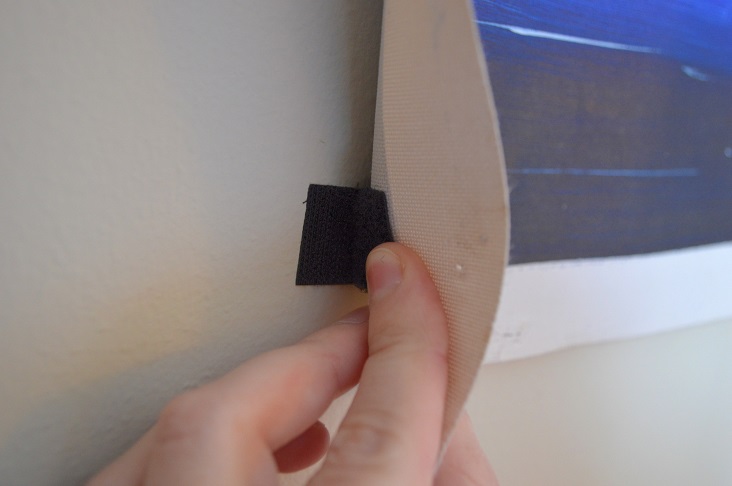
If you want to hang a larger print or poster on the twine hanger but the poster won’t hang flat against the wall because it’s been rolled up for storage, try this trick: Use Velcro fasteners to keep the corners of the poster from curling up. Simply place one side of the Velcro fastener on the back of the poster’s corner, place the other on the wall and stick them together. You can’t see the Velcro fasteners at all when you’re looking at the twine hanger straight on.
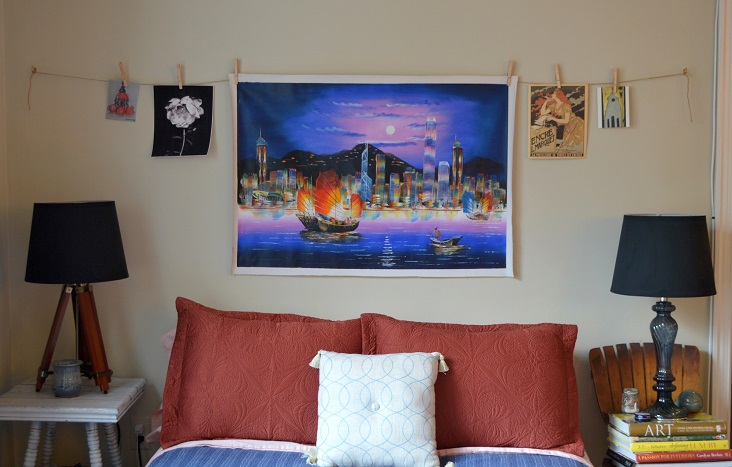
And that’s it! What’s great about this hanging system (besides not needing any tools to install it) is that it’s super easy to swap out pictures and prints whenever you like. Change up the prints for holidays, then simply replace the holiday-themed prints with your regular prints once the holiday has passed.

Looking for more easy ways to decorate your apartment? Add shine to your space by following the tips in this post on
chic mirror trends from the ForRent.com blog.
How did you hang your favorite pictures and prints in your space? Share your tips with us in the comments below!