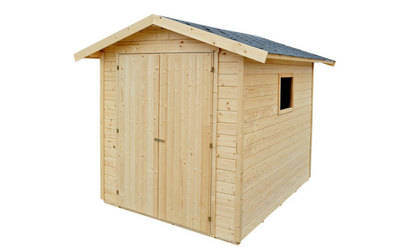
A few weeks ago we bought a huge air compressor to use on all our outdoor projects and automotive hobbies (projects = me, hobbies = him). Once we got the ginormous thing unloaded, we realized that we had a situation on our hands. As magnificently shiny and red as the thing was, it was also an eyesore and a potential top-heavy safety hazard. There was only one thing to do: build a shed to put it in! We already had a shed constructed and we decided to sort of extend it sideways to house Big Red. We did a bang up job but not without a few minor difficulties. Here are some tips you might find helpful if you find yourself in a similar position!
 Make sure the ground you are working with is level.
 Most people know this is how to start any sort of construction project, but sometimes its easier to say, “Eh, close enough!” and not take the time to really make it level. BIG MISTAKE! If the ground isn’t level then the structure won’t sit levelly and all your close and careful measurements will be way off. Buy a level, and make sure you are doing it properly.
 Don’t forget to factor in enough wood for a floor.
 This may be slightly nitpicky but think of it this way. Adding a floor (and crossbeams underneath it for support) will give the frame and ultimately the structure more structure and make it less wobbly. It may be a little more money, but it is worth it. Trust me.
 Buy more wood than you think you will need.
 Whether you decide at the last minute to actually build a floor (yes, sometimes these decisions are made late) or you decide to actually try and make the shed look pretty, extra wood is always a good idea. It isn’t crucial you get it all at once, but buying the extra wood to start will probably save you a ton of money in gas going back and forth.
 Check, double check, triple check, and check again.
 Measurements need to be precise when cutting wood. Check as many times as you think you need to (at least twice is my recommendation) and write it down so you don’t forget. If you do mess up, this is where the extra wood comes in handy!
 Be careful where you put your fingers and toes.
 You never know when a power tool will go ballistic or when your foot is going to get smashed by falling lumber (or worse). Wear boots and gloves and keep a sharp eye out!